IP Whitelist
1. Sign Up / Log In
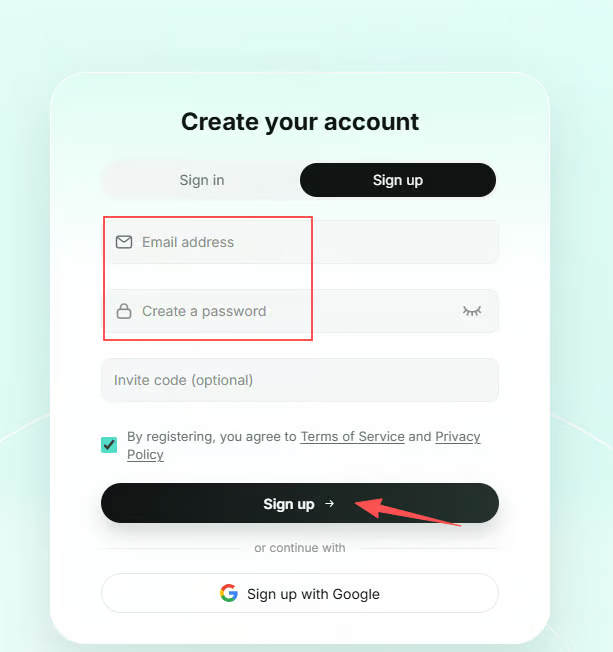
Visit the official SK5Data website and click Sign Up in the upper-right corner to create an account.
2. Purchase a Plan
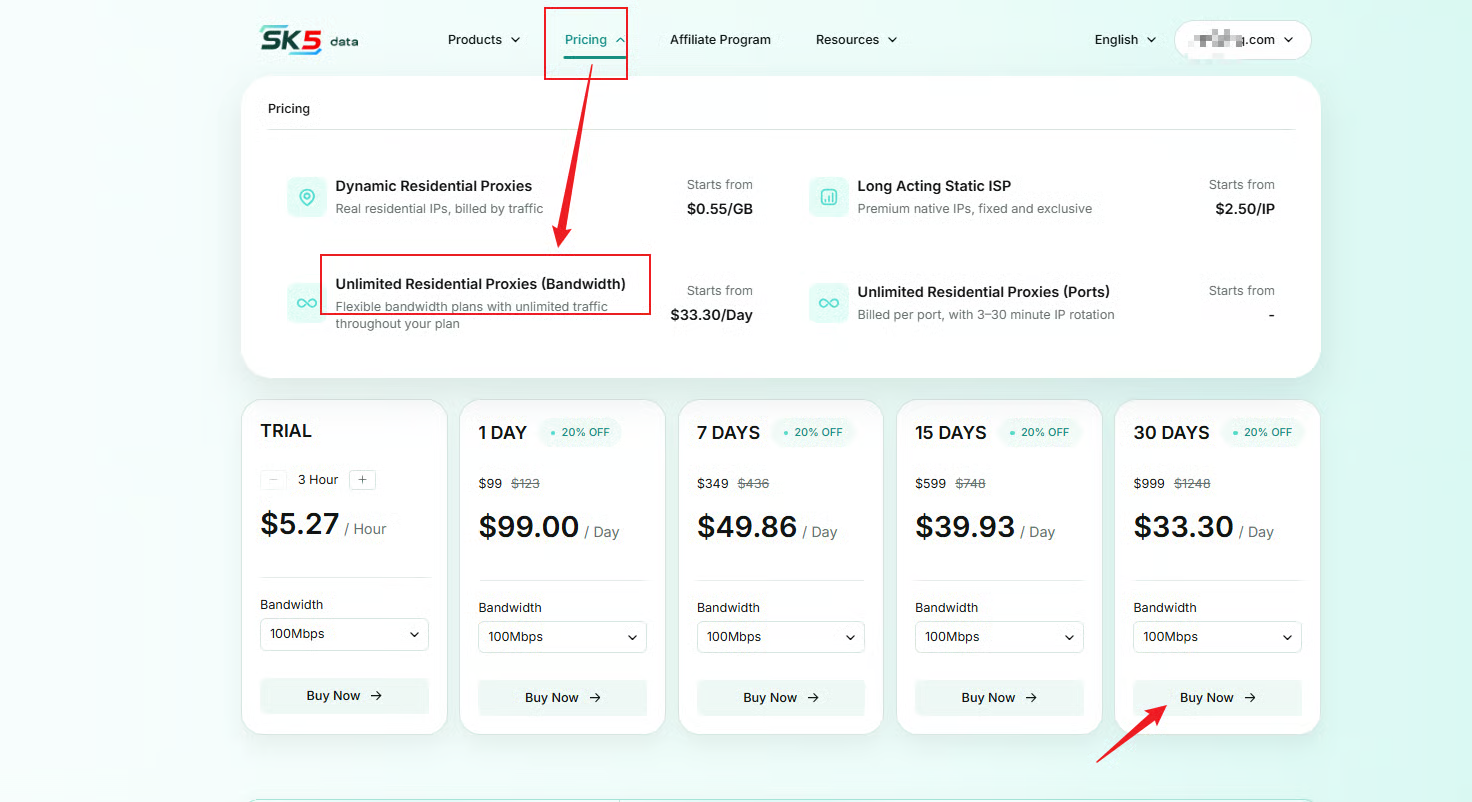
Navigate to Proxies → Pricing → Unlimited Residential Proxies (Bandwidth) to access the purchase page.
3. Add IP to Whitelist
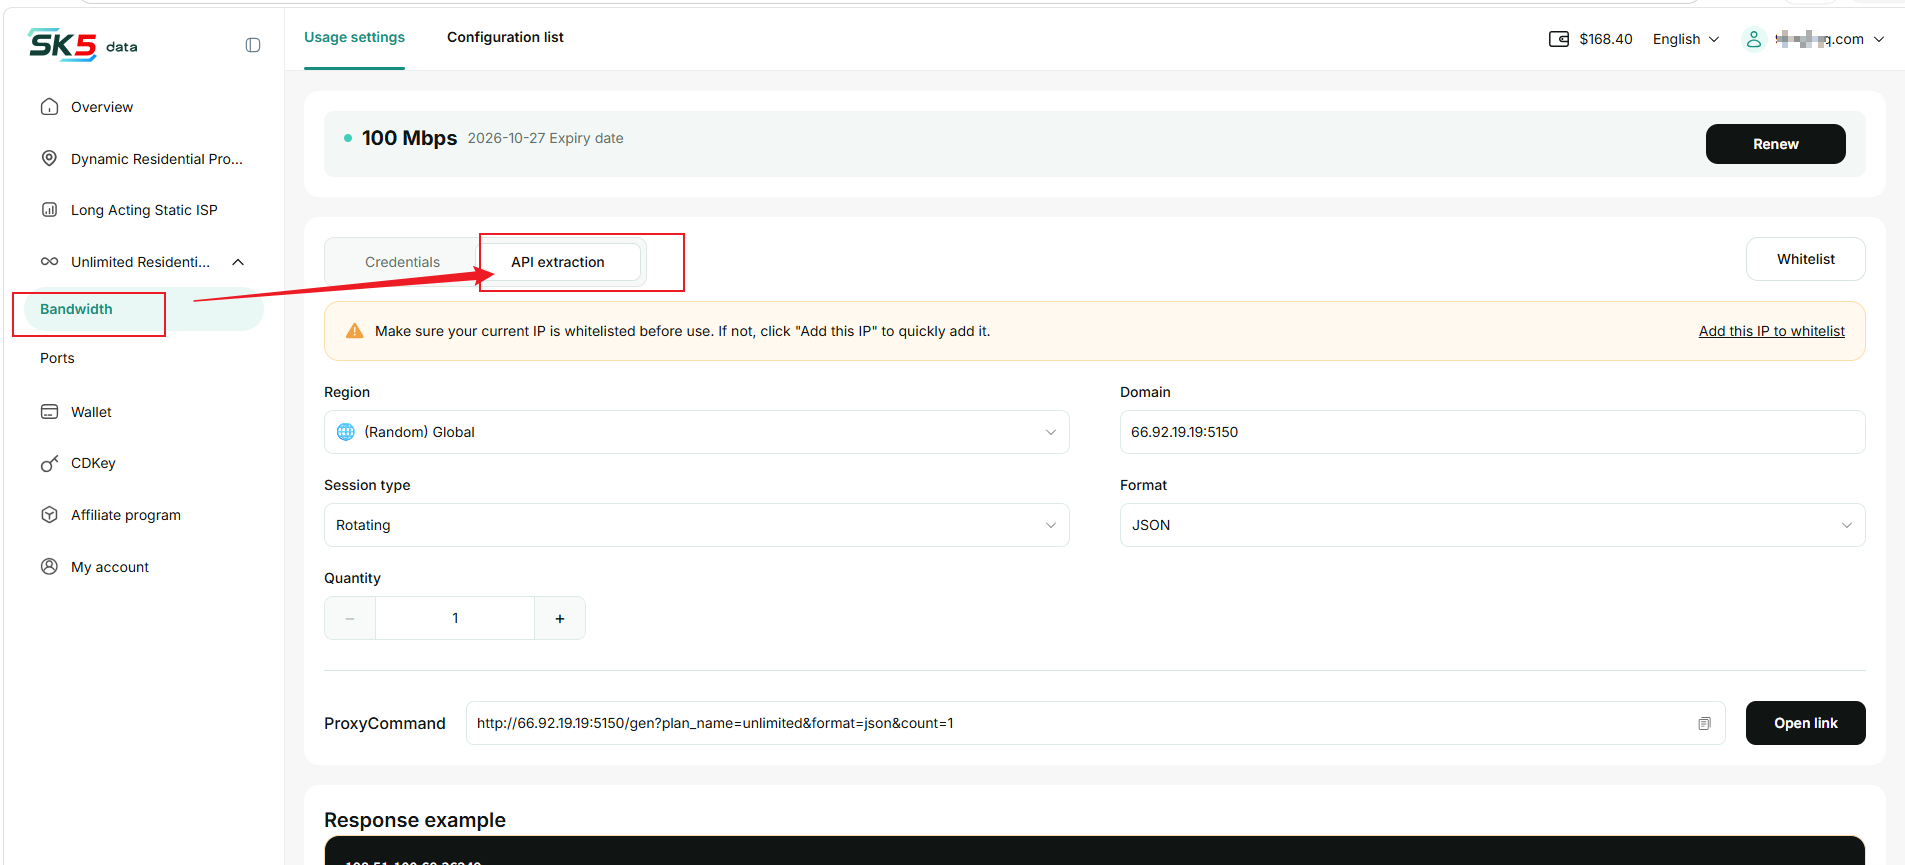
Navigate to Proxies → Residential Proxies → Proxy Settings → IP Whitelist, then open the whitelist management panel on the right.
Add an IP address based on the device you are using:
- For Your Current Device: Click Quick Add next to your current IP address, or use One-Click Whitelist on the API Extraction page.
- For Servers or Other Devices: Click Add New IP, enter the device's public IP address, optionally add a remark, and then click Confirm to add it.
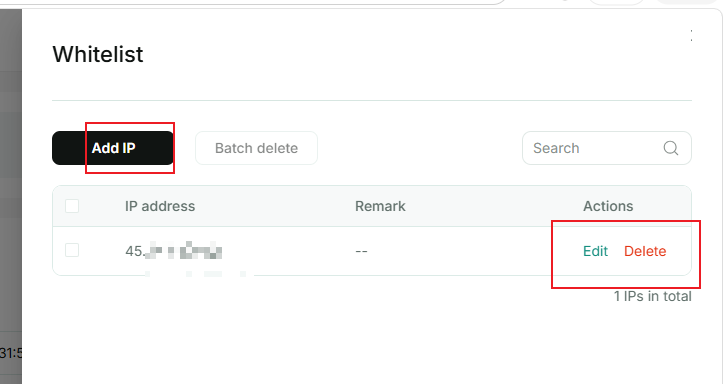
After successfully adding the IP address, close the whitelist management panel and continue configuring the API extraction parameters.
Note: If you are calling the API from a server, add the server's public outbound IP address instead of your current computer's IP address. If the outbound IP address changes, you will need to add the new IP address to the whitelist.
4. Get API Link
1. Configure Extraction Settings
On the API Extraction page, configure the following parameters under Extraction Settings:
| Parameter | Description |
|---|---|
| Location | Select a target country or region, or choose Global Random. |
| Session Type | Choose Rotating or Sticky. For sticky sessions, you can set the session duration. |
| Format | Select TXT or JSON. TXT supports custom separators, while JSON requires no additional configuration. |
| Quantity | Specify the number of proxies to extract. |
2. Generate Proxy Link
Once the configuration is complete, the Proxy Link below will update automatically. No additional generation step is required.
3. Copy or Open Link
Click Copy Link to integrate the link into your script or application. Alternatively, click Open Link to view the returned proxy list in your browser.
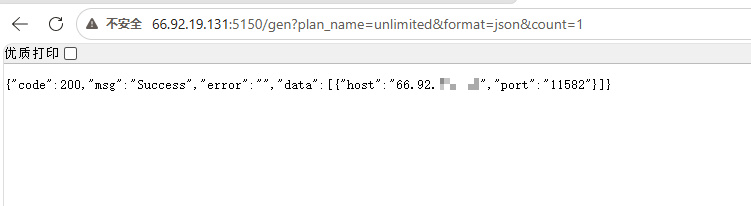
4. Configure Proxies
Use the returned IP combinations in your target proxy tool or application.